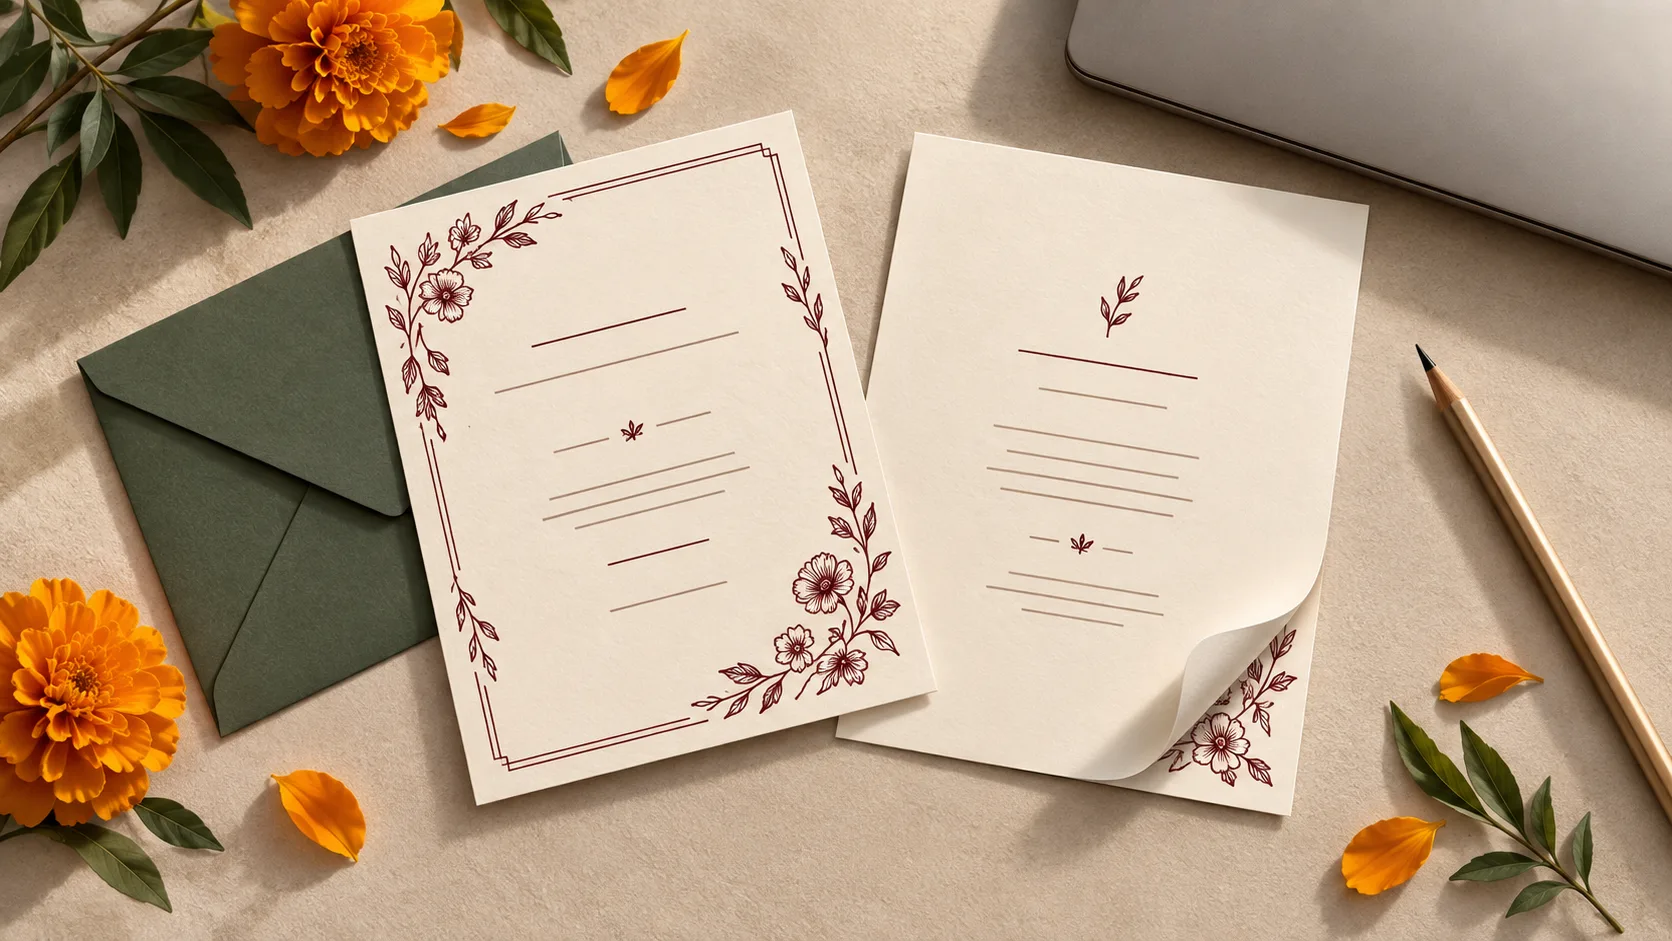
The invitation front looks right. Turn it over and the reception details are upside down. On another copy, the back is upright but belongs to a different guest version. Both problems can survive a careful screen review because they appear when separate PDF pages become one physical card.
Before printing a double-sided wedding invitation PDF in quantity, check three things: which pages belong together, how the guest should turn the card, and what the printer actually produces. A clearly marked paper test makes these decisions easier to see and explain.
First identify what each PDF page represents
Open the file and inspect every thumbnail. A two-page PDF could contain:
- One invitation front followed by its back
- Two different single-sided invitations
- Two large sheets, each containing several card designs
- The outside and inside spreads of a folded invitation
Those files need different handling. Record the finished card size separately from the PDF page size and the paper going into the printer. A small portrait card can sit sideways on a larger landscape production sheet.
For a straightforward flat card, agree that page 1 is the front and page 2 is its matching back. Both should have compatible dimensions and a deliberate top edge. If the designer has supplied a different arrangement, ask for an explanation before changing anything.
Check whether any blank pages are intentional. Removing one from a larger duplex file can change which pages share a sheet.
Check front-and-back pairs before print settings
For an ordinary sequential duplex job with one PDF page on each side, pages 1 and 2 normally form the first sheet, then 3 and 4 the next. Confirm that arrangement in the actual print workflow, especially if reverse order, selected ranges or manual feeding are involved.
Imagine two invitation versions: wedding-only and wedding-plus-reception. A file ordered as front A, front B, back A, back B can produce the wrong pairings in a standard sequential duplex job. The person preparing the file needs to know whether the printer expects alternating fronts and backs or separately grouped sides.
Write a small pairing list:
- Version A: wedding-only front with wedding-only details
- Version B: wedding-and-reception front with both event details
Use neutral version labels while testing; real guest names are unnecessary. Check every distinct pair. One successful sample cannot establish that the remaining versions have been assembled correctly.
Long edge or short edge depends on the sheet
The flip setting describes the edge around which a sheet turns. For upright pages on a simple, one-page-per-side layout, these are useful starting points:
- Portrait, turning sideways: the turning edge is long
- Portrait, turning over the top: the turning edge is short
- Landscape, turning sideways: the turning edge is short
- Landscape, turning over the top: the turning edge is long
Brother's automatic two-sided printing guide shows portrait long-edge choices at the left or right and landscape long-edge choices at the top or bottom. It also specifies supported paper for the models covered. Check your own model's instructions before feeding invitation stock through its duplex path.
Use the print sheet's orientation when several cards are arranged on it. The finished card's shape alone cannot determine that sheet's setting. Rotated artwork and prepared production layouts also need their supplied instructions.
Adobe's Reader printing guidance explains that the printer driver controls duplex options. Labels and available settings therefore vary. Look at the driver's diagram, then confirm the result on paper.
Make a marked two-page test
Ask for a disposable test copy matching the intended page dimensions and layout. Keep the approved artwork untouched. Put the marks into the test artwork itself so they print reliably; a comment bubble may be omitted by print settings.
Mark the front
On test page 1, place:
- A large FRONT A in the centre
- TOP and an upward arrow near the intended top
- A small filled triangle at the upper-left corner
- The intended finished-card outline, if printing on a larger sheet
Mark the back
On test page 2, place BACK A, another TOP arrow and a small circle at its upper-left corner. These marks describe each face as the reader should see it. They are orientation clues, not a promise that the triangle and circle will sit directly behind one another.
For several cards per sheet, label every position separately, such as FRONT A, FRONT B and their matching backs. Have the layout preparer position the backs for the chosen sheet turn. Copying the front grid without checking the reverse can put a correct-looking back behind the wrong card.
Print and turn the sheet
- Use one copy on paper the printer supports. Select the intended paper size, tray, orientation and duplex setting.
- Check both pages in the print preview. For an already arranged production sheet, avoid adding another multiple-pages-per-sheet layout.
- Print the test and hold FRONT A upright.
- Turn it exactly as the guest should turn the invitation. BACK A should now be upright without an extra twist.
- Check every marked card position. Cut a disposable sample along its intended outline if needed, following the cutter's safety instructions.
- Write the working printer, application, tray, paper orientation and flip setting on the test. Photograph both faces and save the settings with it.
This creates a reference the family and printer can discuss. Replace the marked file with the clean artwork before the final production proof.
Keep size checks separate from turning checks
A card can turn correctly and still print too small. In Acrobat, Actual size prints without scaling; Fit changes the page size to suit the printable area. Content that does not fit can be cropped at Actual size. These behaviours are documented in Adobe's page-sizing guide.
For a file prepared at its intended output dimensions, start with the supplier's specified scaling and measure the printed sample. Do not solve missing edges by shrinking the invitation without checking the resulting card dimensions.
Compare both faces against the same finished outline. If the back is upright but shifted, investigate placement and paper feeding. Changing the flip edge addresses orientation; it will not reliably correct an offset. Ask the printer about expected front-to-back alignment and safe positioning of narrow borders or important text.
If you need to reinsert the sheet manually
Test one sheet before attempting a stack. Follow the printer's instructions for which face and edge return to the tray. Adobe provides separate workflows for face-down output printers and face-up output printers, illustrating why page order and reloading need to be checked together.
For your two-page trial, print the front as a single-sided job, note how it exits, reinsert it as instructed and print the back as another single-sided job. Record which way the top arrow faces during reloading. If you are unsure which surface receives ink, use a lightly pencil-marked sacrificial sheet to observe the paper path first.
Let ink dry as the paper and printer instructions require. Confirm that the chosen stock supports printing on both faces and is suitable for the actual feed path.
A flat card and a booklet need different page arrangements
Booklet printing rearranges pages so they read correctly after folding. Adobe's booklet instructions describe that arrangement and the available binding options.
A flat invitation with a front and back usually needs ordinary two-sided printing. A folded invitation may instead have four reading panels. Its file could contain those panels as individual pages or as already arranged outside and inside spreads.
Ask who is doing the imposition, meaning the arrangement of pages on printing sheets. If it is already done, applying Booklet again can rearrange or resize the prepared layout. Fold a disposable proof and read it from cover to back before authorising a folded design.
Questions to send your invitation printer
Describe how the guest should handle and read the invitation. Ask:
- Do you want individual card faces, outside/inside spreads or imposed sheets?
- Which PDF pages should form each front-and-back pair?
- How should the finished invitation turn or open?
- What finished size, sheet size, bleed and safe area do you require?
- Should both supplied faces be upright, or does your workflow require specific rotations?
- Is the chosen stock suitable for your two-sided process, and what alignment variation should the design allow?
- Can the proof show both faces, the intended trim and any fold before production?
Attach the marked reference separately and label it TEST ONLY. Identify the clean production filename clearly. Ask the printer to flag any rotation, scaling or layout change before proceeding.
Read the clean proof as a guest would
Finally, pick up the clean sample and find the couple's names, date, venue and next action in the intended reading order. Check that cutting or folding has left the back's important details comfortably inside the finished card.
If the reverse carries a QR code, scan the physical proof and confirm its destination. Our guide to QR codes on Indian wedding cards covers that separate check.
A home-printer trial can settle the reading direction, but the supplier should confirm the result on its own equipment and chosen stock. When discussing PDF wedding invitations with Love Solutions, bring the intended card format and printer's specifications, then agree which print-preparation files and proofs your project needs.
Keep the successful physical sample until printing is complete. It is the clearest answer to a surprisingly easy question to misunderstand: “Which way should the back face?”